%% generate tags start %%
#software-engineering
%% generate tags end %%
#software-engineering/php
%% run start
```ts
const {LinkPreview} = customJS
return LinkPreview.getLinkPreviewFromUrl("https://github.com/composer/composer")
```
%%
<div class="nifty-link-card-container">
<a class="nifty-link-card" href="https://github.com/composer/composer" target="_blank">
<div class="nifty-link-card-text">
<div class="nifty-link-card-title line-clamp-2">GitHub - composer/composer: Dependency Manager for PHP</div>
<div class="nifty-link-card-description">Dependency Manager for PHP. Contribute to composer/composer development by creating an account on GitHub.</div>
<div class="nifty-link-href">
<img class="nifty-link-icon" src="https://github.com/fluidicon.png">
https://github.com/composer/composer
</div>
</div>
<div class="nifty-link-image-container">
<div class="nifty-link-image" style="background-image: url('https://repository-images.githubusercontent.com/1864363/49ec0c0f-21fe-40d8-bfc3-2002b0a5c1c8')">
</div>
</div>
</a>
</div>
%% run end %%
In [[PHP]], package management is commonly handled by a tool called Composer. Composer is a dependency manager for PHP that allows you to declare the libraries your project depends on and it will manage (install/update) them for you.
## Installing Composer
To install Composer on your system, follow these steps:
1. **Download the Composer Installer**:
- Navigate to the [Composer download page](https://getcomposer.org/download/).
- Follow the instructions to download and run the Composer installer. This typically involves executing a script in your terminal.
on mac, you can also
```
brew install composer
```
2. **Verify Installation**:
- Once installed, you can verify it by typing `composer` in your terminal. This should display the Composer version and available commands.
```
composer -v
```
## Using Composer for Managing Packages
Once Composer is installed, you can use it to manage packages in your PHP projects:
1. **Initializing a New Project**:
- Go to your project directory.
- Run `composer init` to start a new project. This command will guide you through creating a `composer.json` file for your project.
2. **Adding Dependencies**:
- To add a new package (library) to your project, use `composer require`. For example:
```
composer require guzzlehttp/guzzle
```
- This command will add the package to your `composer.json` file and also download and install the package in the `vendor` directory.
3. **Installing Dependencies**:
- If you have a `composer.json` file with defined dependencies, run `composer install` to install all the dependencies listed in that file.
4. **Updating Dependencies**:
- To update your dependencies to their latest versions (as per the version constraints in `composer.json`), run `composer update`.
5. **Autoloading**:
- Composer generates an autoload file that you can include in your PHP scripts to automatically load your dependencies. Include it in your PHP files like this:
```php
require 'vendor/autoload.php';
```
6. **Lock File**:
- When you install or update dependencies, Composer creates a `composer.lock` file in your project directory. This file locks the installed dependencies to specific versions, ensuring that all team members and your production environment use the same versions.
7. **Version Constraints**:
- In your `composer.json`, you can specify version constraints for your dependencies. This allows you to control which versions of the packages your project can work with.
8. **Scripts and Other Settings**:
- `composer.json` can also be used to define autoload settings, scripts, and other configurations for your project.
## Additional Tips
- **Browse Packages**: You can browse and search for PHP packages on [Packagist](https://packagist.org/), the main Composer repository.
- **Understand Semantic Versioning**: Familiarize yourself with [semantic versioning (SemVer)](https://semver.org/) as Composer and many PHP packages use it to manage versions.
- **Use Version Control**: It's a good practice to include `composer.json` and `composer.lock` in your version control system (like Git), but exclude the `vendor` directory.
By using Composer, you can efficiently manage the dependencies of your PHP projects, ensuring that you have the right versions of the libraries you need and making it easier to maintain your project over time.
## Does Composer Install Packages in a Directory in the Current Project Root like Npm Make `node_modules`?
Yes, Composer installs packages in a directory within the current project's root, similar to how npm creates a `node_modules` directory. For Composer, this directory is named `vendor`.
Here's how it works:
1. **`vendor` Directory**: When you run `composer install` or `composer require`, Composer downloads the necessary packages and places them into the `vendor` directory in your project root. This directory structure is standard for PHP projects using Composer.
2. **Package Organization**: Inside the `vendor` directory, packages are organized by their vendor names. For example, if you install a package named `guzzlehttp/guzzle`, it will be located in `vendor/guzzlehttp/guzzle`.
3. **Autoloading**: Composer also generates an `autoload.php` file in the `vendor` directory. By including this file in your PHP scripts (`require 'vendor/autoload.php';`), you enable autoloading of all the classes in your Composer dependencies. This eliminates the need to manually require each class file.
4. **Ignoring `vendor` in Version Control**: The `vendor` directory should typically be excluded from version control (like Git) using a `.gitignore` file. This is because the `vendor` directory can be easily reconstructed by running `composer install` based on the `composer.json` and `composer.lock` files, which should be version-controlled.
5. **`composer.json` and `composer.lock`**: The `composer.json` file in your project root defines the dependencies and other metadata. After running Composer commands, a `composer.lock` file is also created or updated, which locks the installed dependencies to specific versions.
6. **Project vs Global Installations**: The described behavior is for project-specific installations. Composer can also install packages globally (across the entire system), but this is less common and used for tools rather than project dependencies.
In summary, Composer's `vendor` directory functions similarly to npm's `node_modules`, containing all the installed packages and autoload script, and it is a convention in PHP projects to keep dependency code separated from your project code in this way.
## Try it in the Todo Example
continue the example on [[Todolist using php]].
To enhance the simple to-do list application previously described with a third-party package using Composer, let's go through the process step by step. We'll add a package for illustrative purposes. Let's say we want to add a package for logging, such as `monolog/monolog`, which is a widely used logging library in PHP.
### Step 1: Initialize Composer in Your Project
If you haven't already initialized Composer in your project:
1. Open the terminal and navigate to your project directory.
2. Run `composer init`. This will guide you through creating a `composer.json` file for your project. You can answer the questions or just press enter to skip them.
### Step 2: Install a Third-Party Package
To install the [[monolog | `monolog/monolog`]] package:
1. In your project directory, run:
```bash
composer require monolog/monolog
```
2. Composer will download the package and its dependencies and place them in the `vendor` directory.
### Step 3: Update Your To-Do List Application
1. Open your `index.php` file.
2. At the top of the file, include Composer's autoloader to use the installed packages:
```php
require 'vendor/autoload.php';
```
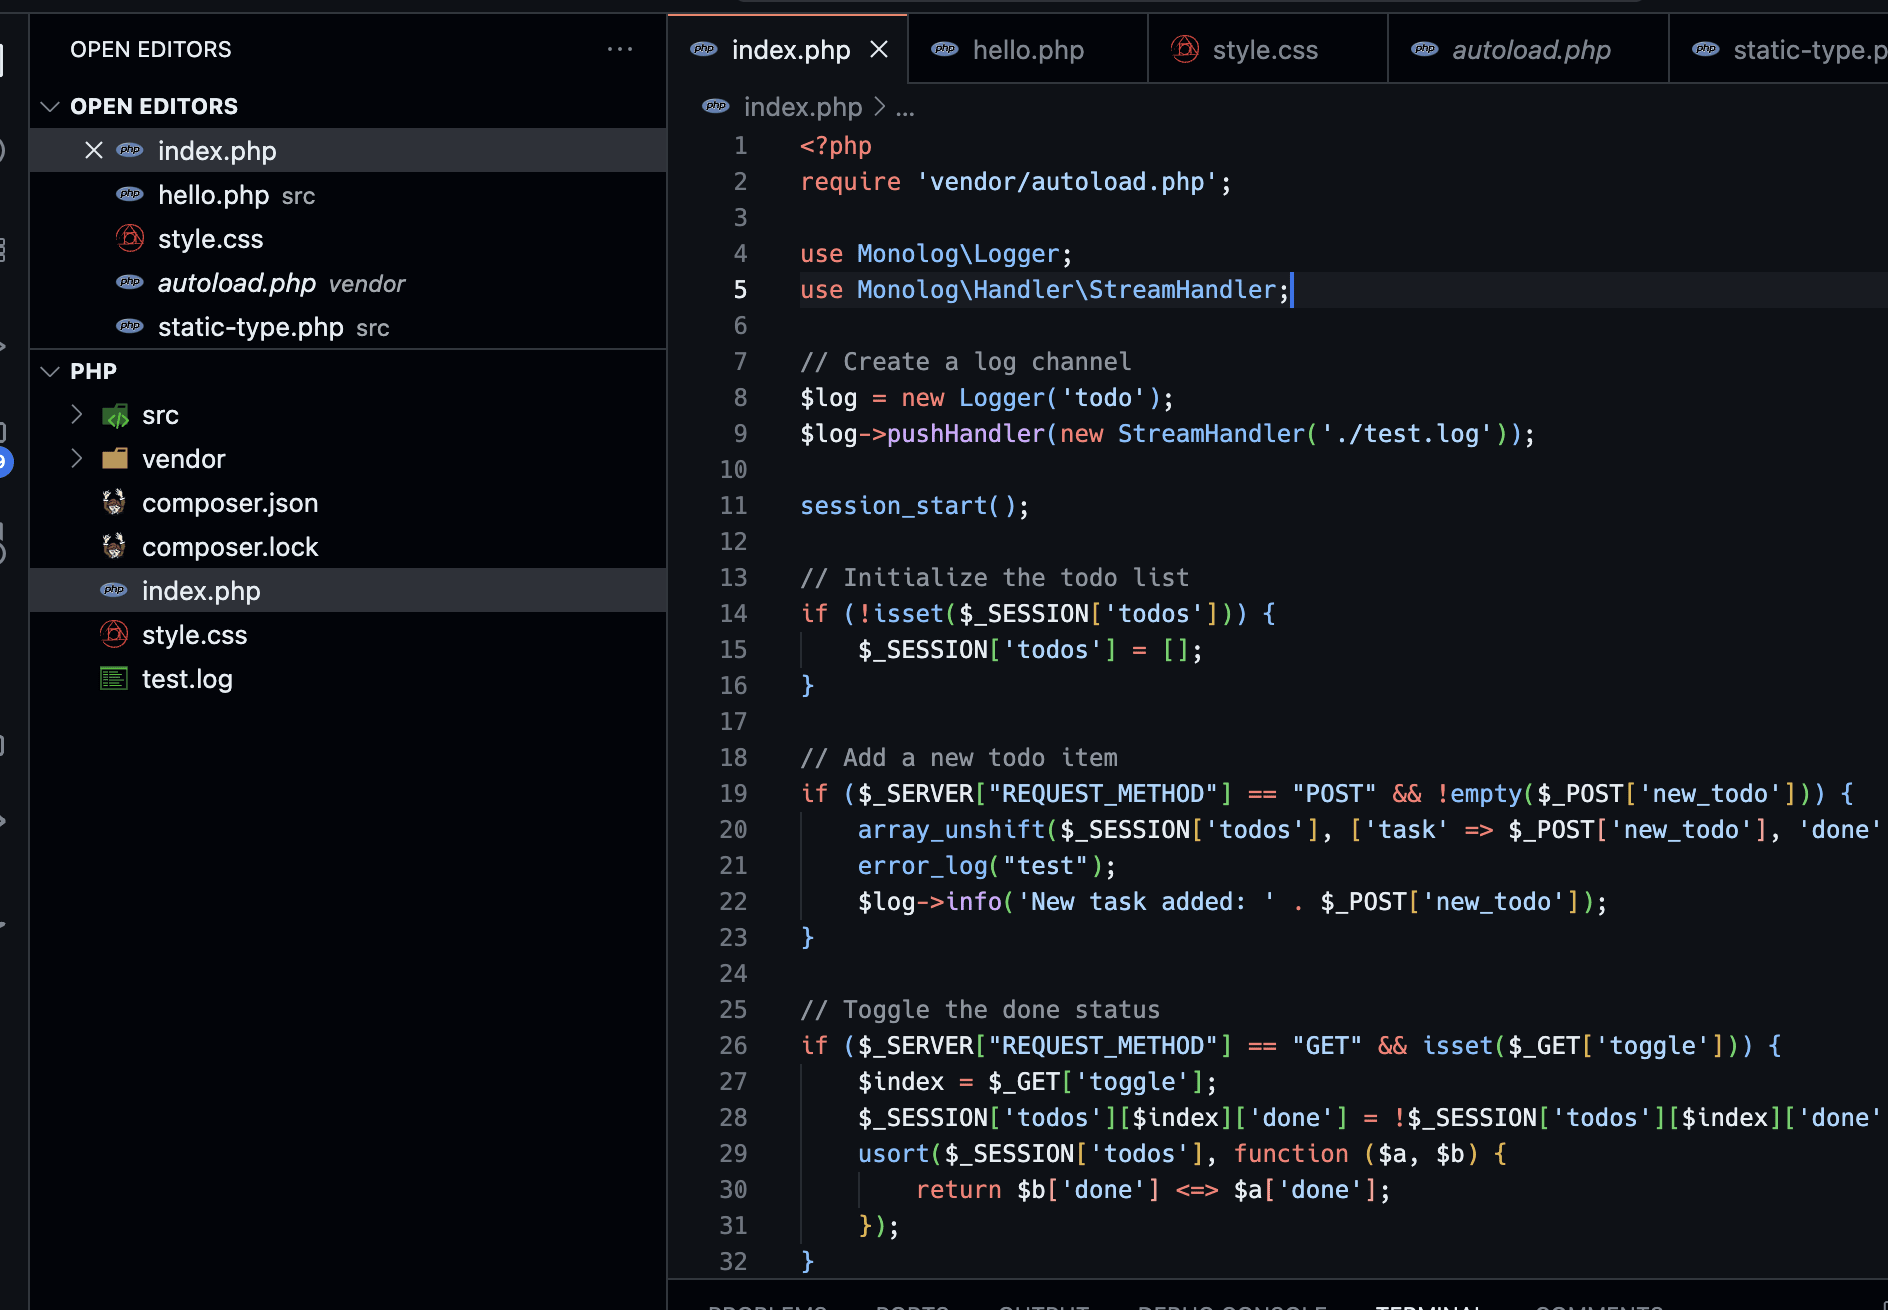
3. Now, you can use Monolog in your application. Set up a logger instance:
```php
require 'vendor/autoload.php';
use Monolog\Logger;
use Monolog\Handler\StreamHandler;
// Create a log channel
$log = new Logger('todo');
$log->pushHandler(new StreamHandler('./test.log'));
```
4. You can now log messages in your application, for example, log every time a task is added:
```php
if ($_SERVER["REQUEST_METHOD"] == "POST" && !empty($_POST['new_todo'])) {
array_unshift($_SESSION['todos'], ['task' => $_POST['new_todo'], 'done' => false]);
$log->info('New task added: ' . $_POST['new_todo']);
}
```
### Step 4: Use Your Application
1. Make sure your PHP server is running (`php -S localhost:8000` in your project directory).
2. Open your web browser and navigate to `http://localhost:8000`.
3. Use your to-do list application. Actions like adding a new task will now be logged.
### Step 5: Check the Logs
1. Open the log file you specified (e.g., `your.log`) in a text editor.
2. You should see the log entries for the actions performed in your application.
### Additional Tips
- **Exploring Packages**: Browse [Packagist](https://packagist.org/) for other useful PHP packages you might want to include in your projects.
- **Version Control**: Remember to include `composer.json` and `composer.lock` in your version control system, but exclude the `vendor` directory.
- **Logging**: Logging is a critical aspect of any application, especially for debugging and monitoring. Monolog is a powerful tool that supports various handlers and log levels.
By following these steps, you have enhanced your simple to-do list application with a third-party package, demonstrating how Composer is used for dependency management in PHP projects.
## `scripts` In composer.json
Composer's `composer.json` file does support a `scripts` section, but it works differently from `package.json` in Node.js projects. Composer scripts are more about running PHP scripts or command-line commands that relate to your PHP project. They can be used to automate tasks like testing, building, or deployment.
```json
{
"scripts": {
"start": "php -S localhost:8000 -t src",
"test": "phpunit --colors=always"
}
}
```
You can then run these scripts using Composer's `run-script` command or its alias `run`:
```
composer run-script start
composer run start
composer start
```